
First Posted 2/21/2021
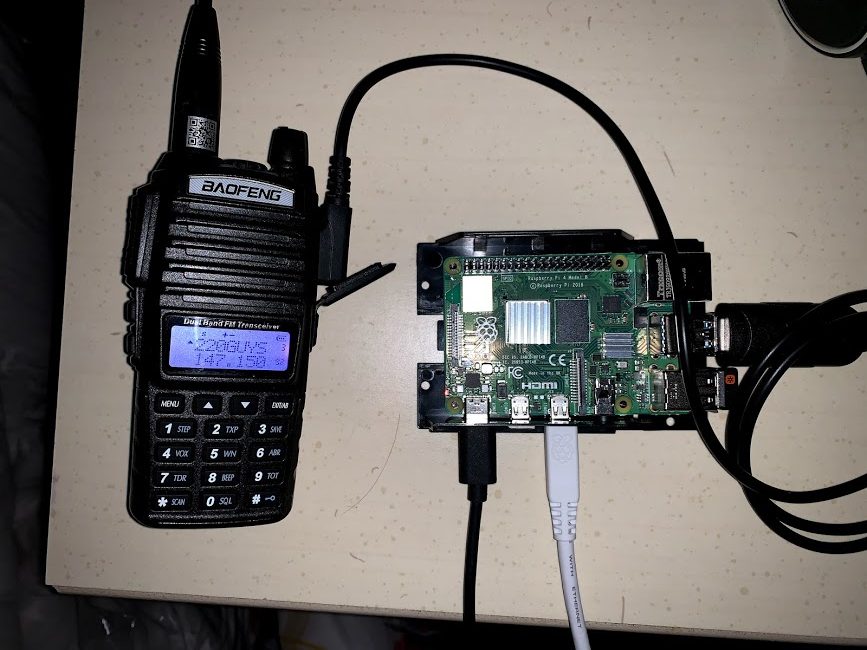
Welcome to the second installation of the Linux for Hams series of posts! Today I will be taking a copy of my beloved Baofeng UV-82 programmed by the 220MhzGuys about 6 years ago, and cloning it onto a newer UV-82HP. I’m going to be using Raspberry Pi OS Linux (Buster) on my RPi 4 to do the cloning with one of the cheapo USB adapters. If you’re using AntiX Linux 19 on an old machine instead, the highlighted text within the article will show you a few minor differences.
May 2024 edit: Most of the stuff here is still valid, but with the new Raspberry Pi 5 and Debian Bookworm-based Linux distros, things might be slightly different. These writeups will not be getting revised, check out YouTube & other blogs if you need something more current!
Make sure you have working internet on your Linux machine by firing up a web browser and surfing some websites before proceeding; if you’re struggling to get internet definitely check out the techsupport subreddit for troubleshooting ideas. Apologies in advance if this starts off a bit slow, I’ll be going into much more step-by-step detail than usual so those with no Linux experience can follow along. Please note that CHIRP is included in Build-a-pi and HamPi, which might be better solutions than my guide for some Raspberry Pi users.
Initial CHIRP Installation
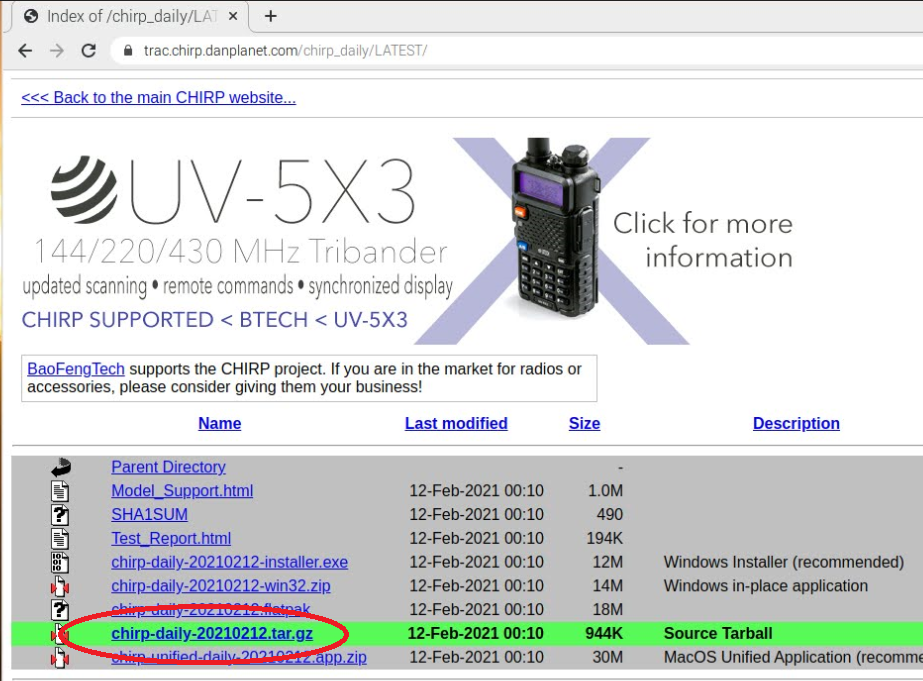
Start the web browser on your Linux machine, and head over to the https://trac.chirp.danplanet.com/chirp_daily/LATEST/ download page. Download the source tarball (the file ending in .tar.gz) in the middle:
Once the file download completes, open it with the default Archive Manager, then click the Extract All button:
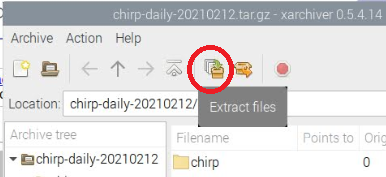
(AntiX users: your Archive tool is a little different, but the general idea is the same)
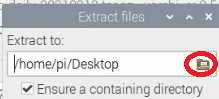
Click on the little folder icon next to the path, select the desktop, then click Extract:
Open up a terminal window by clicking the Terminal button in the upper left of the screen:
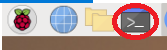
(AntiX users: Click on Favorite Applications icon in bottom left corner, Terminal should be at the very top of the menu)
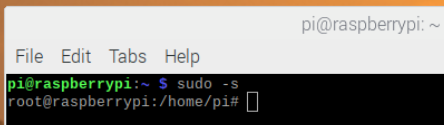
Start off by typing the command “sudo -s” without the quotes, then press enter. Although this isn’t the best security practice, it will allow us to ensure we have proper rights to install CHIRP. You may be prompted for your password depending on your security settings. This will result in seeing “root@(your computer’s name)” in the terminal window:
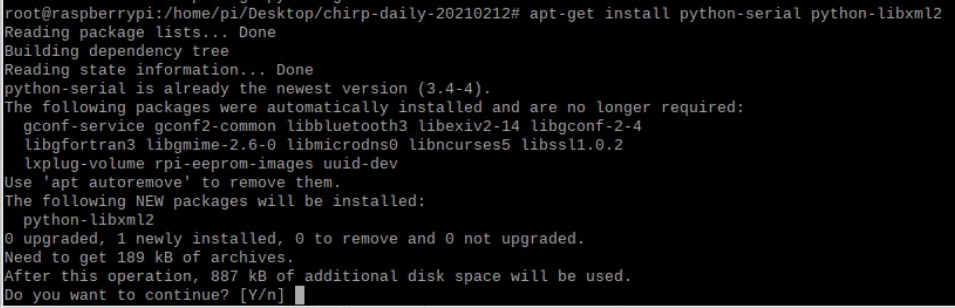
Type “apt-get install python-serial python-libxml2” then press enter. You’ll have to press Y and then enter again to allow these necessary packages to install:
Type in “cd Des” without the quotes in your terminal window, then press tab. You should see the Desktop path autocomplete! Then type “chi” without the quotes and without spaces; you should see the path to the latest CHIRP version autocomplete, then press enter. Next, type “python setup.py install” without the quotes, press enter, and CHIRP will install away! Start CHIRP with the command chirpw, and you should see the user interface appear:

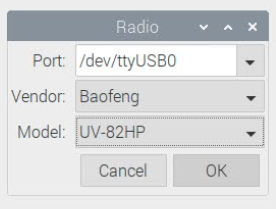
Make sure your USB cable is plugged in, click the Radio button, and Download from Radio. Be sure to pick the USB serial device from the menu, it will most likely be /dev/ttyUSB0, pick your Radio model, and with good luck you’ll be able to pull up the radio’s config!
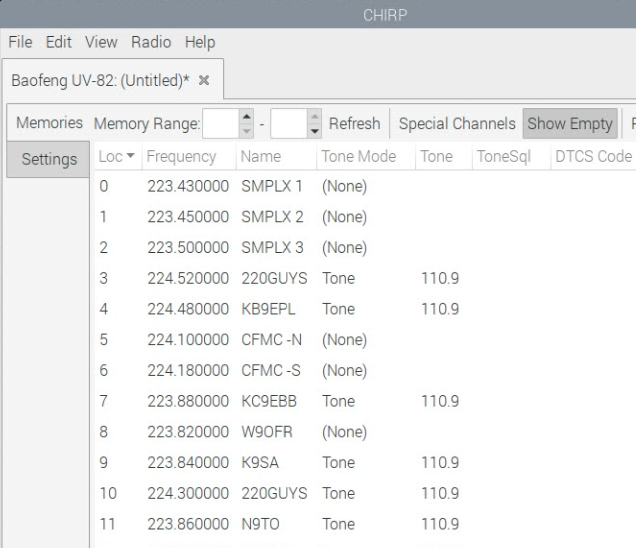
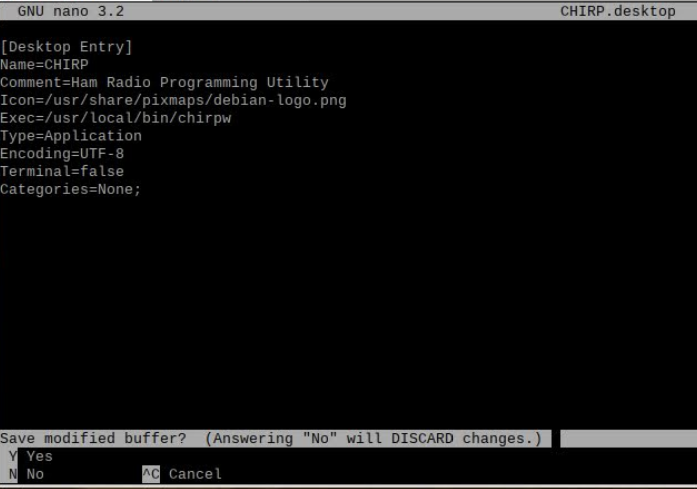
Looks like all those presets from the 220MhzGuys are now on my Raspberry Pi! I was able to clone the config no problem, backup the radio configuration, and do everything in CHIRP that I can on my Windows workstation. Raspberry Pi OS should make a shortcut for CHIRP under the Accessories menu, but I did not see such a shortcut created in AntiX. If you’d like to create a desktop icon, open a new terminal window and type “cd Desktop” without the quotes, press enter. Now type “nano CHIRP.desktop”, press enter, and paste the following into the text editor:
[Desktop Entry]
Name=CHIRP
Comment=Ham Radio Programming Utility
Icon=/usr/share/pixmaps/debian-logo.png
Exec=/usr/local/bin/chirpw
Type=Application
Encoding=UTF-8
Terminal=false
Categories=None;
Hold down Control + X, then press Y and enter to confirm you want to save the document:
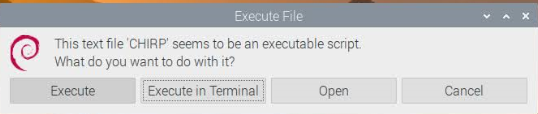
You should notice the fancy Debian swirl icon on the desktop for CHIRP, double click it, select Execute, and enjoy using CHIRP easily on your Linux machine!

(AntiX Users: you may need to open File Manager from your Favorite Applications icon in the lower left corner, click on Desktop folder, then click + drag the CHIRP icon onto the desktop)
I hope seeing CHIRP working on a Raspberry Pi inspires someone out there to step out of the Windows/Mac comfort zone and see what all this Linux & RPi hype is all about. Some of the more Linux-savvy readers might be aware I strongly prefer not using nano, but I wanted to keep this Linux for Hams series as user-friendly as possible. If you’re a ham that wants to score extra nerd points, type vimtutor into that command line and give it a try 🙂
Looking forward to doing similar fun things with dmrconfig soon, until then, happy CHIRPing!
You’ve reached the end of the post! Click here to go back to the list of all Ham Radio posts.
You should also know I may earn commissions on qualifying Amazon purchases made via kd9cpb.com links to defray the cost of otherwise ad-free web hosting.
2 thoughts on “CHIRP on Raspberry Pi OS & AntiX Linux”
Comments are closed.