
As always, opinions in this post are solely those of my own, and not necessarily those of any organization I am currently affiliated with or have been in the past.
First posted 2/8/2021
I’m happy to see my inaugural GCP eve-ng setup with a VPN to my homelab post is still the most popular on this site by a large margin. Seems like more people are starting to get onboard with the idea of a hybrid cloud + on-prem homelab without running noisy & inefficient old servers at home 24/7! In my opinion, the largest issue with public clouds for homelab is the hourly cost; things can get expensive after you’ve exhausted your “free tier” resource allocation or 90-day $300 new customer credit on Google Cloud Platform (aka GCP). I’m all for complying with Google’s terms + conditions and paying my fair share of the cloud bill, but I’m also all for maximizing the amount of freebies available from Alphabet, Inc. too 🙂 Let’s say you hypothetically find yourself in the following situation:
- You’ve setup a kickass eve-ng GCP homelab instance, spending a lot of time building out fancy things that take awhile to rebuild from scratch, burning through your $300 free credit.
- You have a good friend that wants to continue playing with the cool things within your eve-ng GCP homelab instance.
- The person in the above step has their $300 GCP new customer credit available as they’ve never used GCP before.
- You want to transfer your eve-ng GCP homelab instance onto your friend’s account so they can play with the $300 GCP new customer credit.
I want to make it abundantly clear that I am not recommending you break GCP’s Terms of Service or do anything shady when it comes to finding Google Accounts that still have the $300 new customer credit. Now that I got that out of the way, let’s go through what it would look like to migrate my eve-ng GCP instance from one GCP account to another. There’s a good chance you’ll be prompted by Google to enable various APIs and allow permissions to be set while you’re going through these steps, so keep in mind you might have some extra mouseclicks along the way.
Step 1: Prep the new GCP account to receive eve-ng image
Make sure your eve-ng instance in the old GCP account is turned off, and that you know the root password. Login to the new GCP console account you’re moving the eve-ng instance into, ensure you get the $300 trial credit activated first by pressing Activate on that glorious present banner at the top of your screen:

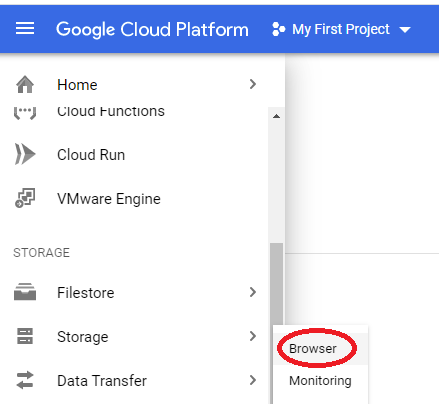
After getting the credit card info in, you should get a nice Welcome message confirming your $300 credit! I’m going to use the default “My first project” project name, but if you’d like to change the project name, now is the time to do so. The first thing we need to do is create a storage bucket to dump the eve-ng instance into, so head down to the Storage menu, click Storage, then click Browser:
Google Cloud will force you to enable billing before you’re allowed to create a storage bucket, so make sure to take care of that with the “enable billing” banner at the top of the screen before proceeding. Click on “Create Bucket” at the top of the screen:

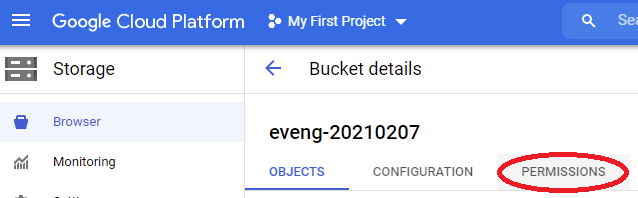
GCP requires a globally unique name for the bucket, so I went with eveng-20210207. It’ll then ask you where to store your data; pick the same region that you’re running the old eve-ng instance in (for me this is us-central1). Standard storage class is fine, along with fine-grained access control and Google-managed encryption key. Click create, then click on permissions:
Click on the add button in the center of the screen, then enter allUsers in the new members field. This is terrible security practice, but I’m doing it anyways since the bucket is super temporary for copying eve-ng. You should never do this for sensitive data! Do some googling on service account permissions for storage buckets if you want to do this the proper, non-homelab way. Select the “Storage Legacy Bucket Owner” role, and save. Go ahead and logout of the new account for now, because it’s time to send the image over from the old account!
Step 2: Punt image from old GCP account into a bucket within the new GCP account
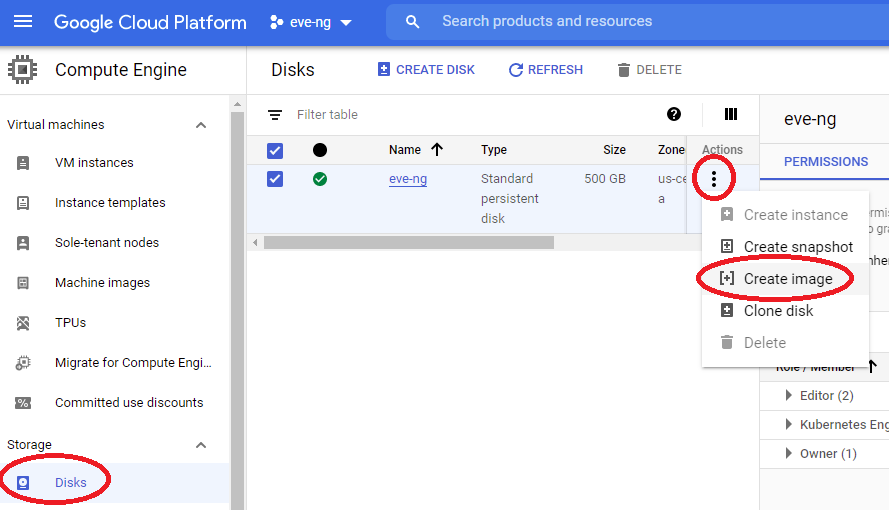
Login to the old GCP account you’re moving the eve-ng instance from, then head back to the Compute Engine menu, click on Disks under the storage menu, click on the 3 dots in Actions row for your eve-ng disk, then click Create Image:
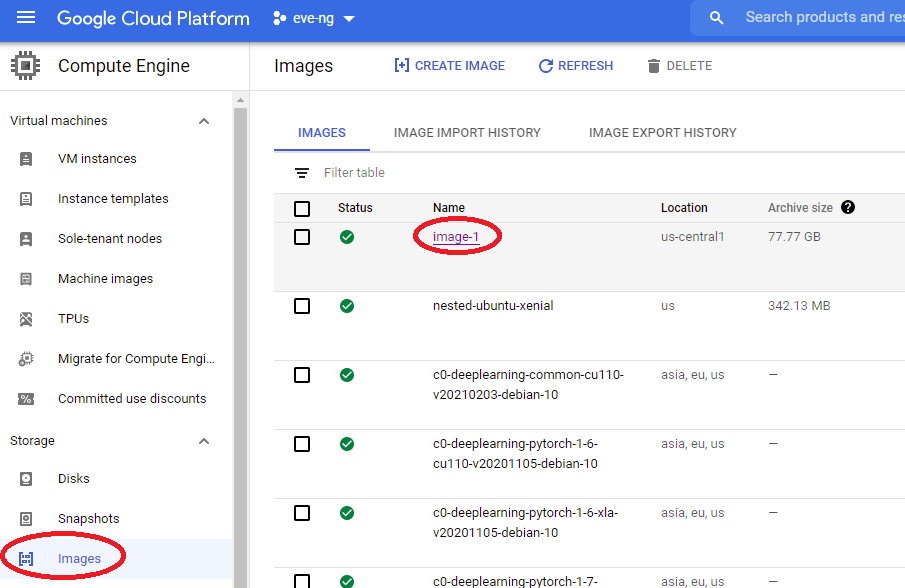
You can leave all the defaults in the “Create an Image” dialog screen that will pop-up next, I decided to change the location to regional. Click create, then be patient while the image is created (this might take awhile). Once the image is ready, you should see it ontop of the images list if you sort by date created:
Unfortunately we can’t use the GCP GUI for copying our image to the bucket because of the custom network stuff I did to pull off the VTI tunnel. So you’ll have to open up a GCP console session by clicking on the console icon in the upper right:

Once the console window opens on the bottom of your screen, go ahead and run the following command, changing the image & bucket names as necessary:
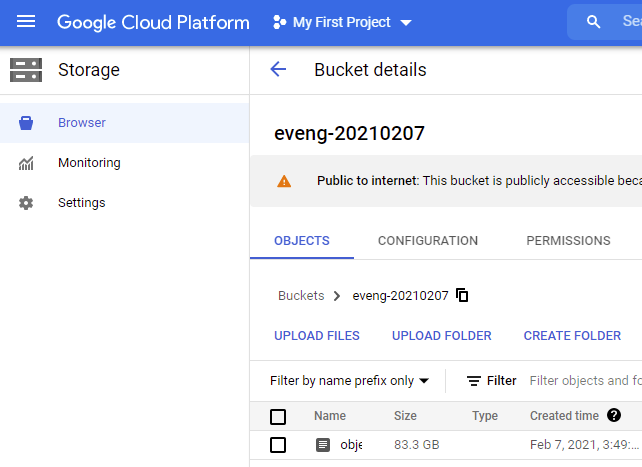
gcloud compute images export --image image-1 --destination-uri gs://eveng-20210207/object.tar.gz --subnet "default"You will then see some command line output while the export happens, be patient for this to complete. If you have a big fancy ISE install in your eve-ng instance like me, you might want to go do something else, this will take awhile! After you’ve given it quite a bit of time, head into the new GCP account receiving the eve-ng instance, and take a quick look at the bucket under the Storage -> Storage -> Browser menu to ensure your big fat eve-ng image object is there:
We’re almost there! Click on the console button again to fire up a command line within your new GCP account:
Get the following command in to create a VM instance with your desired nested virtualization settings (change your bucket address, you can also change the image name of eve-copy if you’d like):
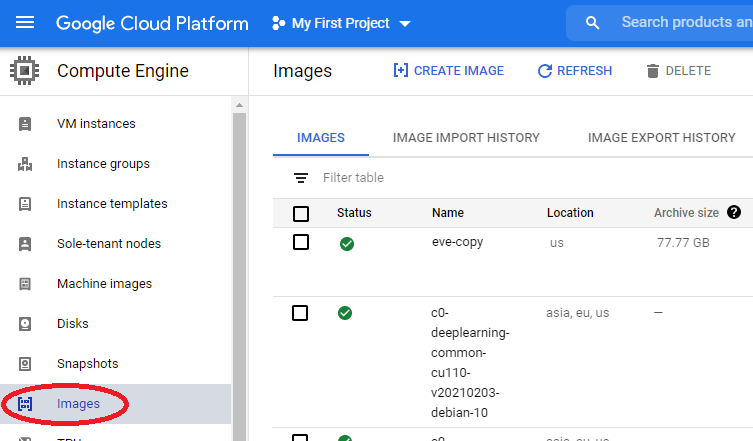
gcloud compute images create eve-copy --source-uri gs://eveng-20210207/object.tar.gz --licenses="https://compute.googleapis.com/compute/v1/projects/vm-options/global/licenses/enable-vmx"This will take quite some time, it’s probably best to go do something else while the image with VMX is getting reborn. You’ll be able to see when this is complete by hitting up the Compute Engine -> Images menu and seeing a glorious green checkbox next to the image:
Step 3: Get the new instance working, cleanup the terribly insecure public bucket
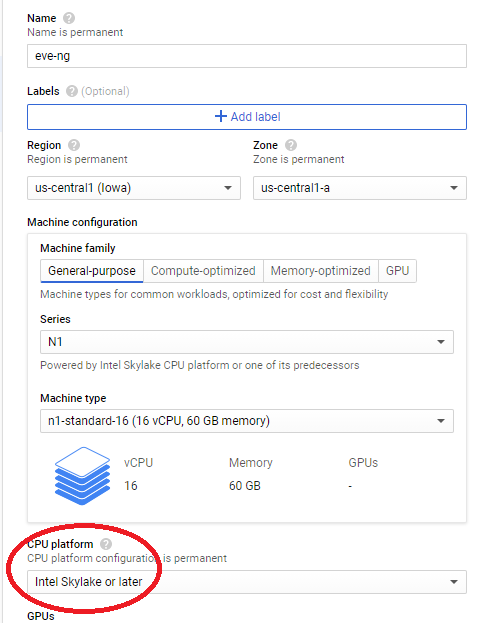
Cleanup your VPC config to have the custom subnets & whatnot that you’ll want if you’re using a VTI tunnel back to your homelab (search the intial setup for the word “subnet”, first result has a lot more info if you’re confused about this). Head over to Compute Engine -> VM instances, then click the create button. Fill in the top with your desired instance specs, I chose the following, don’t forget to specify you want the newest processor architecture if possible!
Click on the Change button under boot disk:
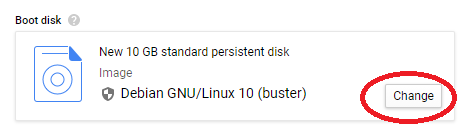
Go to the Custom Images tab, select eve-copy (or whatever you named your image with the VMX license), then click the blue Select bottom all the way on the bottom. I’m sticking with a standard 500gb disk size, but if you want to go bigger or go SSD, now is the time to do so:

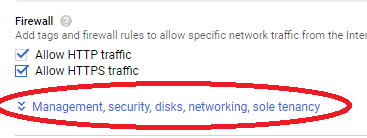
Check the firewall boxes if you’d like (most of you will probably be doing custom stuff with the firewall anyways, so this won’t really matter), then click on the magical link below to get into the network settings:
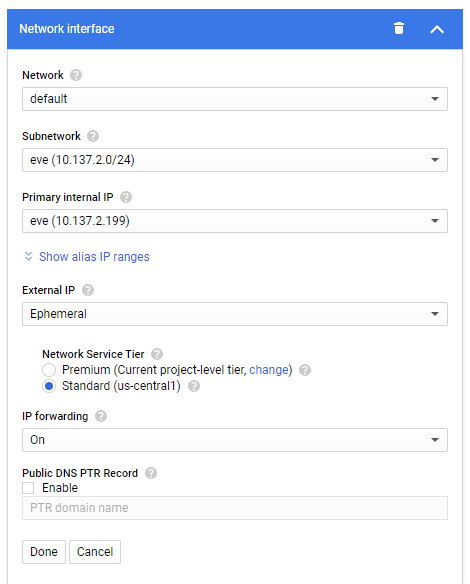
Be sure to setup everything the way you want in the Network tab, I’m doing the following custom setup just like I did in the initial setup lab, and don’t forget to enable IP forwarding! Click Done and then Create to start up the new eve VM instance:
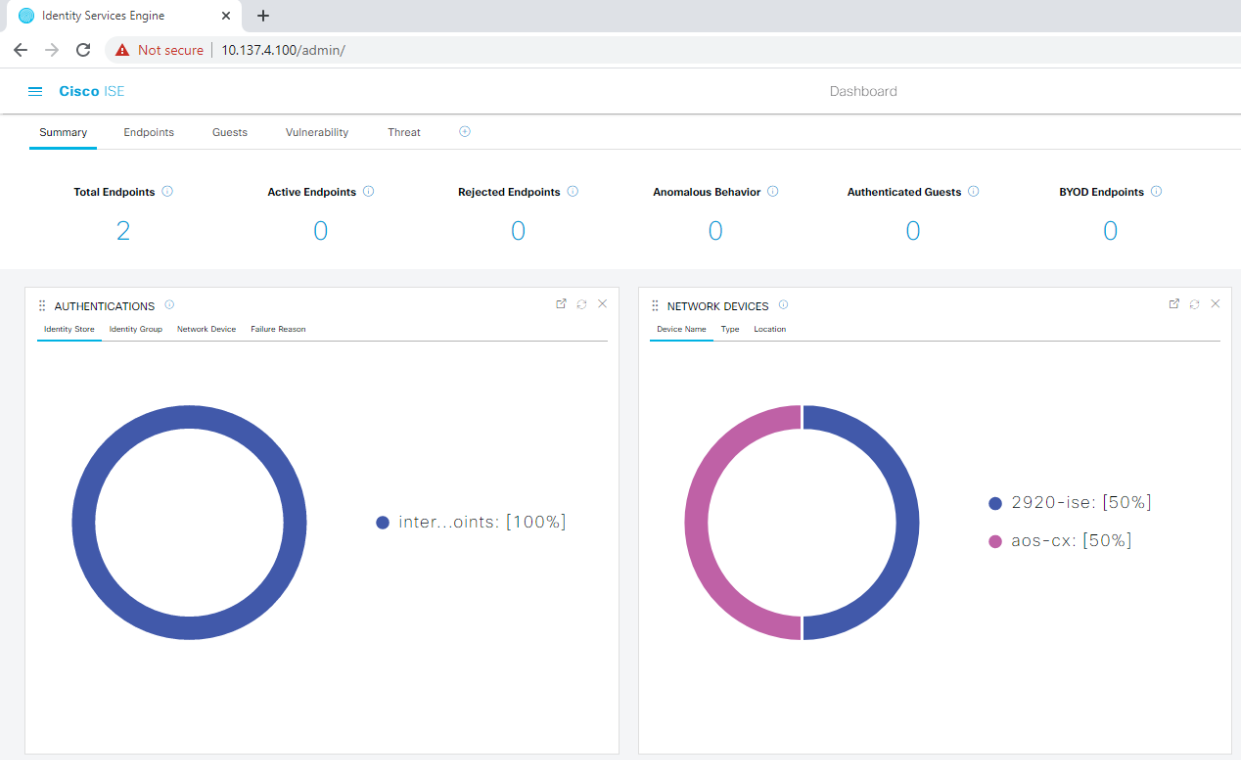
Once you create your instance, it’s going to take more time than you’d expect to get the good green checkbox next to it, but it will happen with enough patience. Once you see the green checkbox, go ahead and visit http://(your eve-ng public ip) to visit the web interface, you should be up and running! If you’re using eve-ng community edition and get a connection refused error, quadruple check you’re using HTTP and not HTTPS, most browsers default to HTTPS without realizing it. Before proceeding to clean things up, I decided to fire up a dirt simple lab topology to ensure Cisco ISE would actually function after the move. Looks pretty good to me!
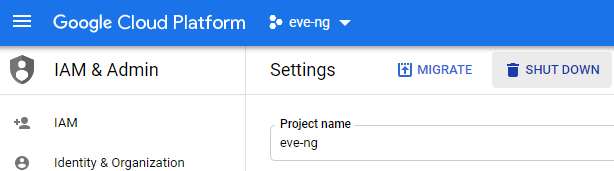
But we’re not done yet; now that the transfer is complete, promptly delete any VM instances, disks, images & buckets from both the new and old accounts so you don’t get charged for the cloud storage! It’s safe to delete all images and buckets (assuming you weren’t using them for anything else), just use caution when deleting any extra disks in Compute Engine. You sure don’t want to delete the disk containing all your hard work in eve-ng. Just for the sake of completeness, you can delete the entire project that was running your old eve-ng instance in the old account by clicking the 3 dots all the way in the top right of the screen by your username, click Project Settings, then Shutdown at the top of the screen (quadruple check you’re in the right account and the right project first!)
That just about wraps up today’s lab, I hope these instructions are helpful for anyone that wants to pass on a really fun GCP eve-ng setup to someone else after burning through their $300 freebie. It should be noted that another blog shows off a neat way to do this procedure without exporting to a storage bucket, but sadly I couldn’t seem to figure out how to make that trick work with enabling VMX. If you figure it out, let me know in the comments and I’ll get this post updated!
I have done this like 5 times already.
thank you so much for the guide!!
you’re most welcome! Sharing is caring when it comes to homelabbing 🙂